
several weeks ago, I started making these mini notebooks using supplies I found in my craft corner. I've now made quite a few- some with blank paper, others with graph paper. It's so fun to change up the words stamped on the front and to use the notebooks for different purposes! I thought I would share a quick little how-to, since it's such a fast and simple project, with great results! Plus, they're so handy and easily customizable! The perfect project.
you will need:
blank paper (or graph paper for a knit notebook!)
kraft paper (or other heavy card stock for cover)
alphabet stamps
hole punch
needle and embroidery thread
yarn or twine
pen & pencil
(optional: washi tape to decorate)

step one:
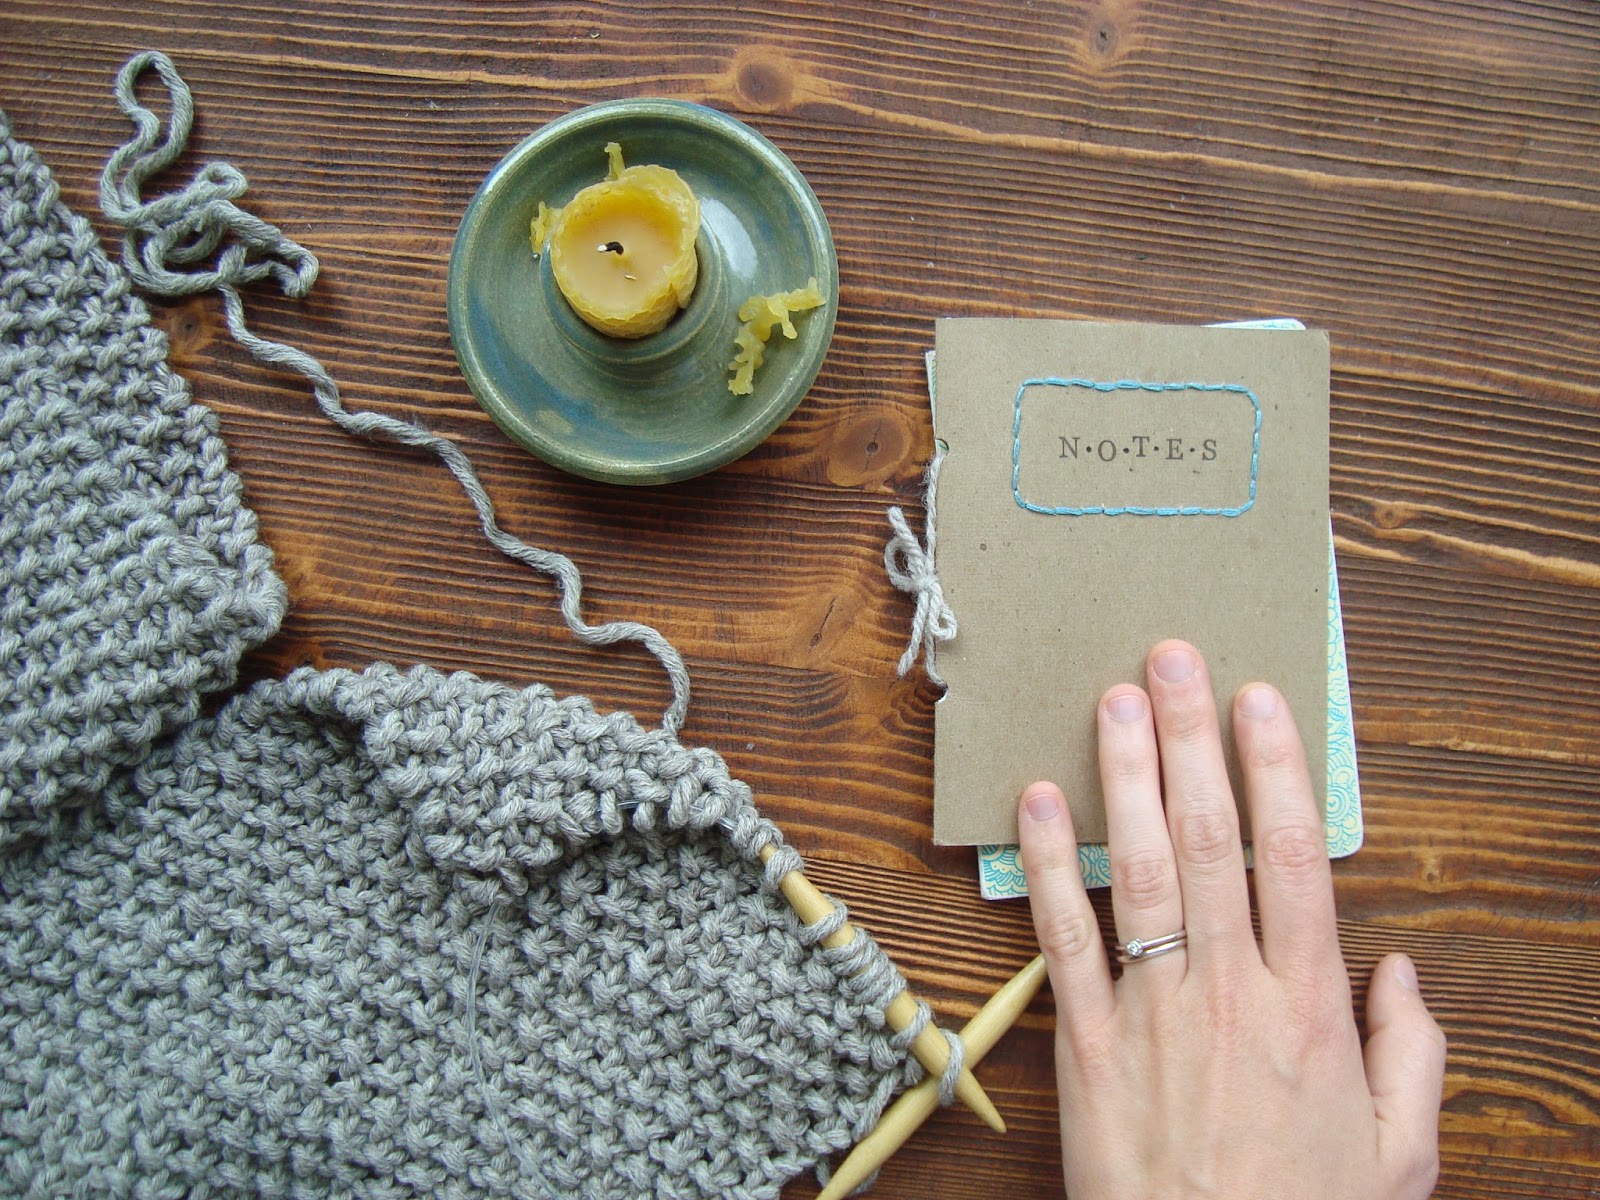
cut both your paper and card stock in half and fold down the middle. It's up to you how many sheets of paper to put in your notebook. I usually do 6 sheets folded in half- this will give you 24 small pages to write on.
using your hole punch, punch two holes along the folded seam of your paper about an inch and a half apart.

step two:
draw a box in light pencil line, making sure it's large enough to fit whatever word you later want to stamp inside. Using an embroidery needle, poke holes all around the box. (Remember, however far apart you space your holes will be the distance between your stitches!)
step three:
working in back stitch*, embroider the outline of your box. (note: most embroidery thread is 6-strand. For this project, I would use only 2-3 of those strands. Otherwise you may have a problem getting the thick thread through the holes in the paper)

*for those who've never tried it before, here's my quick how-to on back stitch.
The important thing to remember is that your needle is always going to be on top of your work.
First, poke your need up through the paper and pull through, leaving a short tail at the back of your work.
Next, insert the needle behind where your thread is. Before pulling all the way through, insert the tip of your needle ahead of your stitch. (see photo) Pull through. This forms a stitch just behind where your thread is now. Repeat these two steps all the way around.

step four:
using your alphabet stamps, stamp your selected word in the middle of the box. I always draw little dots between the letters using a black pen, but you don't have to!

step five:
to "bind" your little book together, line up your pages inside the cover. Take your piece of string and thread it through the holes you punched earlier, tying a bow on the outside.
Decorate the cover with washi tape to add a bit of colour if you so desire.
and that's it! Enjoy your new notebook!
Really nice and easy (like the Sinatra song) :))
ReplyDelete:)
Delete